
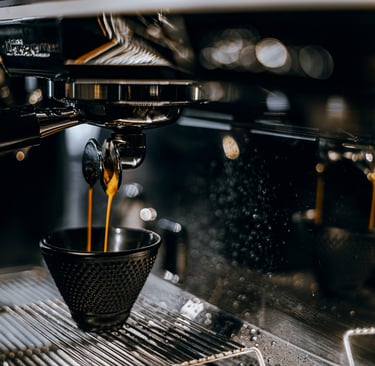
Pulling a great shot of espresso is more than just pressing a button, it’s about understanding how each element of the process contributes to the final cup. From dose and grind size to brew ratio and extraction time, brewing with intention means being thoughtful about every variable, no matter how small.
This guide is for anyone who wants to move beyond guesswork and build a more consistent, dialed-in espresso routine whether you're just getting started or looking to refine your calibration knowledge and skills. Let's break down the variables, step by step, so you can brew with clarity, control, and purpose.
Only looking for a recipe to follow?
Click here
Variables in espresso calibration
Getting espresso calibration right involves a careful balance of variables. It may feel a bit overwhelming at the start, but once you understand how each part affects the final shot, it becomes much easier to adjust and improve your brew. In this guide, we will talk through how each variable affects your coffee.
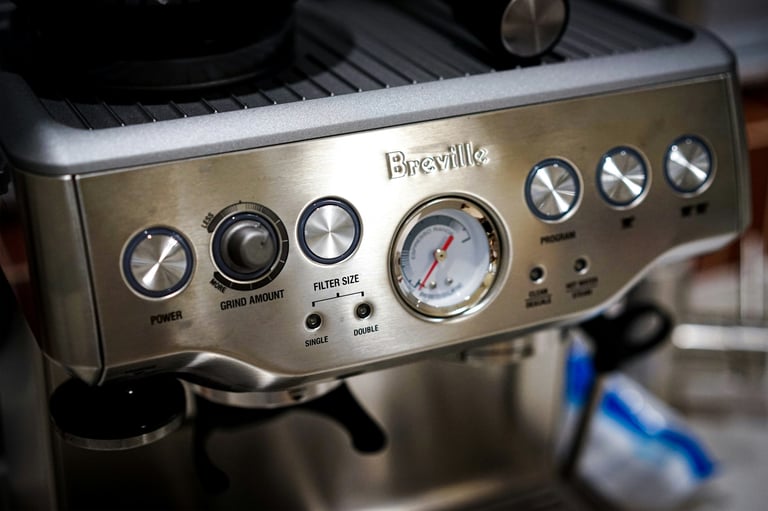
Brewing pressure:
Brewing pressure is measured in bars, with 1 bar equal to the atmospheric pressure at sea level. Most espresso machines are designed to brew at around 9 bars of pressure, which is considered the industry standard for pulling a proper espresso shot.
To check your machine’s brewing pressure, you can press the brew button without the portafilter locked in and observe the pressure gauge that's usually located above or beside the brew switch. As long as the gauge hovers between 8 and 10 bars, your machine is operating within the ideal range.

Water temperature:
The ideal brewing temperature for espresso typically falls between 88°C and 94°C. Water that's too hot can cause over-extraction, leading to bitter flavors, while water that's too cool may cause under-extraction, resulting in sour or weak shots.
That said, most home espresso machines don’t offer control over water temperature as they are pre-set by the manufacturer. But if your machine does allow for temperature adjustment, a good starting point is 90°C, which provides a balanced baseline for dialing in your espresso.
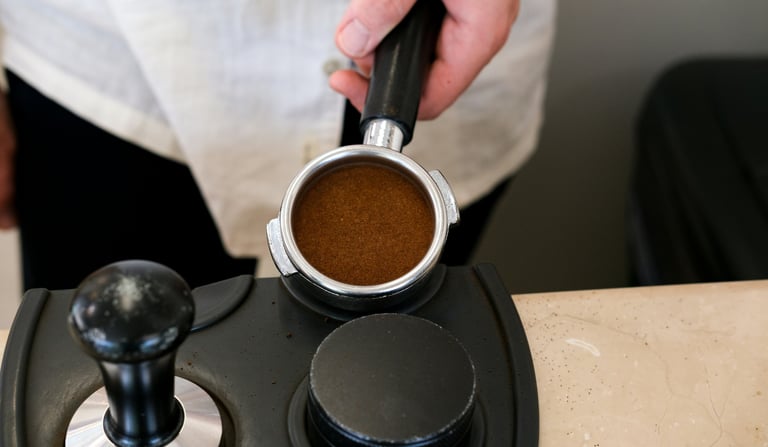
Coffee dose:
The dose refers to the amount of ground coffee you put into the portafilter, often measured in grams. Adjusting your dose influences both the flavor intensity and the extraction time of your espresso. However, it is important to note that the size of your brew basket play a big role in determining how much coffee you should use as each basket is designed to hold a specific range of coffee. Most home espresso machines come with an 18g basket (Maxing out at 19g or 20g). Finding the optimal dose for your basket is important as it often leads to the most balanced and well-extracted espresso.
After tamping, the coffee puck should marginally touch the screw of the shower screen (the part where the water flows out). One way to dial this in is to start at the recommended brew size and gradually increasing the dose by 0.5g or 1g till the puck marginally touches the shower screen's screw. This ensures the maximum puck resistance you can build before calibrating on the grind size. By doing so, it will give you a much easier time getting the right grind size and at the same time, more constant shots.
Coffee to water ratio:
Now that we’ve covered the amount of ground coffee you should be using (the dose), let’s talk about the coffee-to-water ratio or also known as brew ratio. In espresso, this is the ratio of dry coffee (dose) to the liquid espresso (yield). While ratios can range anywhere from 1:1.5 to 1:3, the most common starting point is 1:2. For example, if you use 20 grams of ground coffee, you’ll aim to extract 40 grams of espresso.
The ideal ratio depends on your beans and the flavor profile you're aiming for;
A shorter ratio, like 1:1.5, will produce a bolder, more intense shot with a syrupy texture and rich body.
In contrast, a longer ratio, like 1:3, results in a lighter shot with more clarity, highlighting delicate or fruity notes.
Sitting in the middle, the 1:2 ratio is generally considered the most balanced bringing sweetness, body, and complexity together in a harmonious shot.
By adjusting your brew ratio, you can fine-tune the taste and texture of your espresso to match your beans and your preferences.
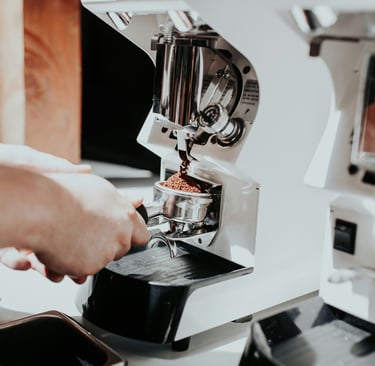
Grind size:
Grind size refers to how fine or coarse your coffee grounds are, and it directly affects how quickly water flows through the coffee in the portafilter which in turn influences how well the coffee is extracted. For espresso, we typically use a very fine grind, similar in texture to powdered sugar. This is because espresso machines rely on high pressure and a short brew time to extract the coffee’s flavors efficiently. A fine grind creates enough resistance to slow the water just enough for proper extraction within that short window.
Grinds that are too fine or too coarse can lead to uneven extraction. If the grind is too fine, water struggles to pass through the coffee, resulting in a slow, over-extended extraction. On the other hand, if the grind is too coarse, it does not provide enough resistance causing water to flow through too quickly and leading to a rushed shot.
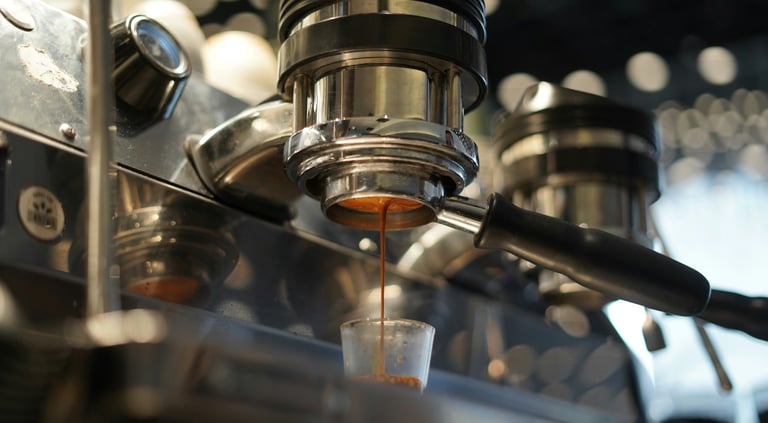
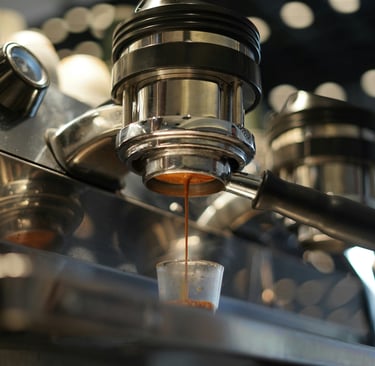
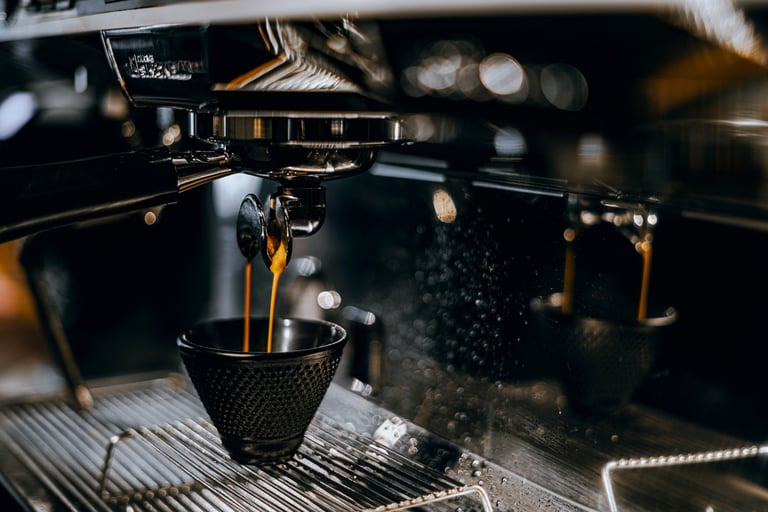
Extraction time
Extraction time refers to how long it takes for your espresso shot to pull. From the moment you start the brew to when the final drop lands in the cup. For most espresso shots, the ideal extraction time falls within a range of 22 to 30 seconds. This is where the previous three variables all ties in with the extraction time. From determining the ideal dose for your basket size, to choosing an appropriate brew ratio, and understanding how grind size affects flow. All of these decisions directly influence how long your shot takes to extract and ultimately, how it tastes.
Over time, you will refine your calibration technique and develop a deeper understanding of the nuances involved in producing the perfect espresso shot. In conclusion, espresso coffee calibration is a vital aspect of brewing exceptional coffee. By carefully considering grind size, dose, water temperature, and extraction time, you can enhance your espresso-making skills. Embrace the intricacies of calibration, and soon you will experience the delightful flavors that a perfectly calibrated espresso can bring.
Espresso calibration guide
Calibrating your espresso setup doesn’t have to be intimidating. Here’s a step-by-step process to help you dial in a reliable shot.
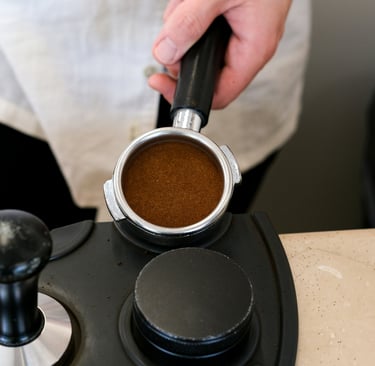
1. Determine your ideal dose
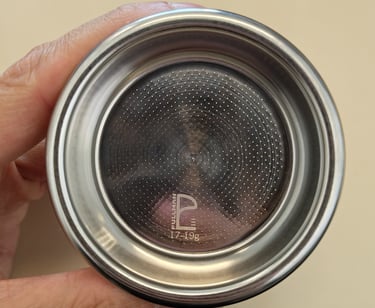
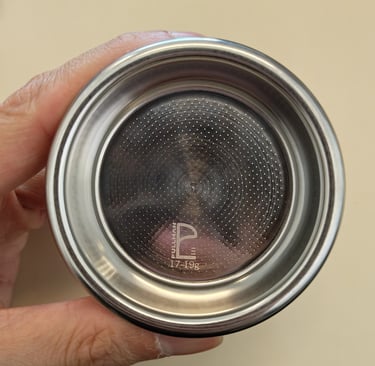
Start by checking your portafilter basket for any markings (often found on the outer wall), consulting your espresso machine’s manual, or simply using 18g as a baseline. From there, adjust the dose depending on how closely the coffee puck sits in relation to the shower screen.
(e.g. If coffee puck is rubbing against the shower screen when locking in the portafilter, decrease your dose; if coffee puck is not touching the shower screen's screw, increase dose.)
2. Choose a brew ratio
A 1:2 ratio (e.g. 20g in, 40g out) is a great place to start. It offers a balanced shot and provides a solid foundation for further adjustments.
3. Adjust grind size and pull a test shot
Set your grinder to a very fine setting, close to powdered sugar in texture. Tamp the coffee and lock in the portafilter. Run a test shot and pay attention to the extraction time and yield by using a scale and timer.
4. Evaluate and adjust
Evaluate the extraction time, yield, and taste.
Firstly, we will want to reach the optimal extraction time of 22s - 30s.
If the extraction is too fast (<20s), grind finer; if the extraction is too slow (>30s), grind coarser.
With the extraction time dialed in, evaluate the taste of your espresso. Ask yourself whether it tastes too sour or too bitter, and with consideration of the brew ratio, whether increasing or decreasing the ratio could improve the balance.
(e.g. Lowering the yield / brew ratio will lessen the bitterness; increasing the the yield / brew ratio will lessen the sourness.)
This is a simplified way to understand how adjusting the brew ratio affects taste without going too deep into aspects like body, mouthfeel, or the coffee-to-water/milk ratios used in a long black or flat white.

Agora's Espresso Recipe
Here's our in-house espresso recipe for anyone who's interested or looking for solid numbers and recommendations to go with.
Dose: 22g
Yield: 31ml
Extraction time: 25seconds
Ratio: 1:1.4
Temperature: 90°C
Pre-infusion: 1second (@ 9 bar)
To replicate similar brew ratio of 1:1.4 using 20g:
Dose: 20g
Yield: 28ml
Equipment / apparatus that we personally recommend (Non-sponsored)
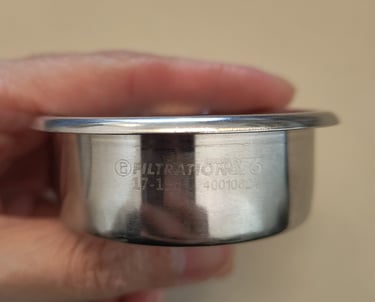
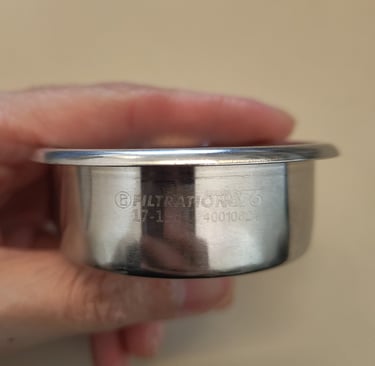
Brew basket: Pullman Filtration Basket (Precision baskets)
Huge upgrade on extracting flavours from your coffee grinds. There are many precision basket brands that do a even better job, but this is the best value for money before diminishing returns.
Tamper: Normcore Tamper
Spring-loaded tamper that ensure a leveled tamp and constant pressure each time you tamp your coffee.
Distribution Tool: WDT espresso tool / prong
A simple +-$10 WDT espresso tool / prong is more than enough to get you the best results. Would not recommend any of those over-the-top tools that does a similar or some times worse job than the regular.
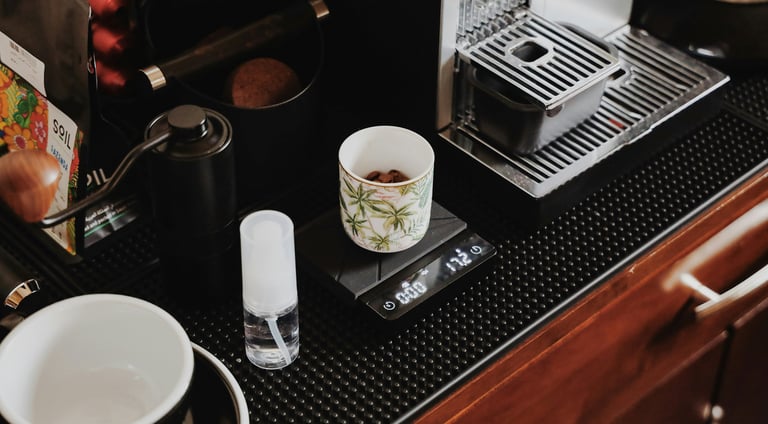
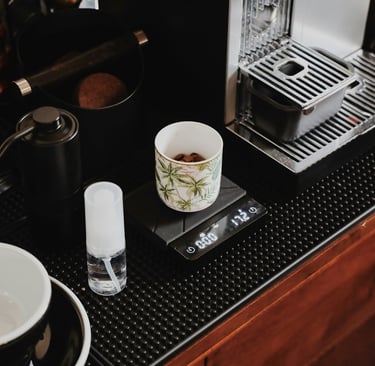
Weighing scale: Timemore Black Mirror
Simple to use, accurate, and durable. Has a timer built in as well.
Ease of preparation: Dosing cup or dosing ring
Helps with keeping your area clean from stray coffee grinds flying everywhere when grinding.
Tamping Mat: Normcore Tamping Mat
Any tamping mat works. I just prefer the plain rectangular look of it. DO use a tamping mat to minimize/prevent accidents from happening when tamping.